Tuesday, January 23, 2024

7 Best Tips for Professional Profile Photography

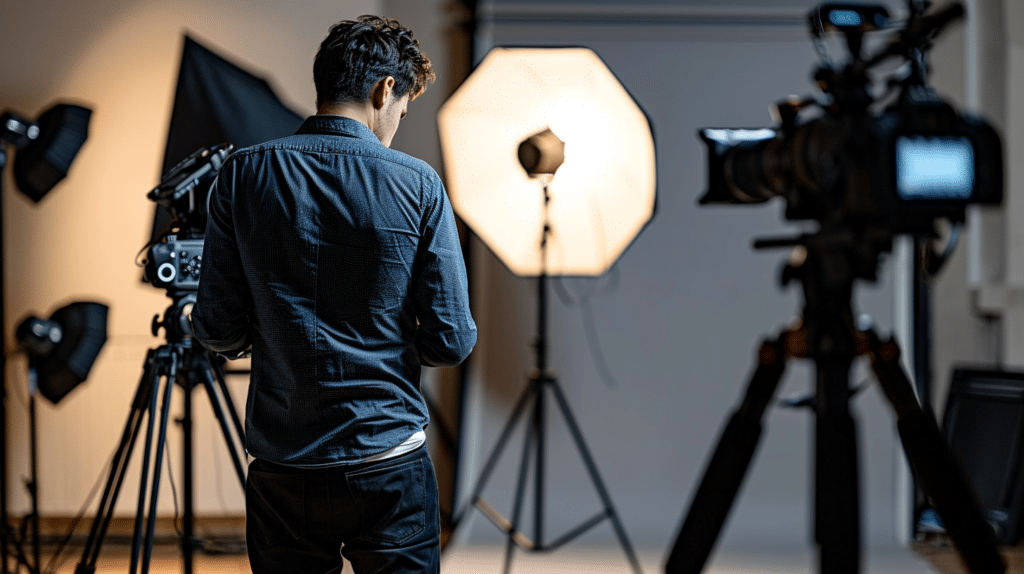
A photographer adjusting studio lighting equipment in preparation for a photoshoot.

7 Best Tips for Professional Profile Photography

With the rise of digital networking, an estimated 92% of recruiters use social media to find high-quality candidates, making your online profile picture more crucial than ever. You’ve likely pondered how to present yourself in the best possible light, capturing an image that conveys professionalism while highlighting your uniqueness.

As you set your sights on perfecting your profile photo, remember it’s not just about looking good in front of the camera. It’s about understanding your angles, choosing attire that reflects your profession, and mastering the subtleties of lighting and background that can make or break the shot. Your expression, often overlooked, speaks volumes; it can invite potential employers or clients into your world, promising a glimpse of the person behind the profile.

While considering these elements, you might wonder if professional assistance is worth the investment or if the devil truly lies in the details of post-production editing. Let’s explore these considerations together, ensuring that your next profile picture isn’t just seen but remembered.

Understand Your Angles

Mastering your angles is crucial for professional profile photography as it can significantly enhance your subject’s features and overall image impact. You’ve got to know how to position your camera to flatter your subject best.

High angles can slim a face, while low angles might give a sense of power. Don’t be afraid to experiment. Move around your subject—shoot from the side, above, or even below. Observe how the light changes with your positioning, creating shadows that either emphasize or soften facial features.

Your goal is to find the sweet spot where your subject looks confident, approachable, or whatever mood you’re aiming for. So keep tweaking your perspective until you nail that perfect shot.

Choose Appropriate Attire

Selecting the right outfit is as vital as finding the perfect angle, ensuring your subject’s attire complements the desired tone and style of the profile photo. You’ll want to choose colors that flatter but don’t distract, avoiding overly bold patterns that can take focus away from the face. It’s also important to consider the backdrop; you don’t want to blend into the background or clash with it.

Opt for classic pieces that suggest professionalism, such as a tailored blazer or a simple, elegant blouse. Remember, you’re aiming for timeless, not trendy. Accessories should be minimal to keep the attention on the subject’s expression and personality.

Optimize Lighting Conditions

Once you’ve dressed your subject in fitting attire, focus on optimizing lighting conditions to ensure their features are illuminated without harsh shadows or glare. Natural light is your best friend, particularly during the golden hour, when the sun casts a warm, flattering glow. Position your subject facing a window or outside with the sun at an angle to avoid squinting and overexposure.

If you’re indoors, use softboxes or umbrellas to diffuse artificial light, creating a gentle, even spread across the face. Remember, the goal is to mimic natural light as closely as possible. Pay attention to the catchlights in the eyes—a sign you’ve nailed the lighting. They should be clear but not overpowering, adding life to the final image.

Select the Right Background

Consider the background carefully, as it can complement your subject or distract from its best features. You’re aiming for a backdrop that isn’t too busy or cluttered. Solid colors work well, especially when they contrast with your attire without clashing.

If you’re going for a more dynamic shot, ensure the background adds to your story without stealing the spotlight.

Don’t forget to check for any distracting elements. You don’t want stray objects or bright spots pulling attention away from you. It’s also worth considering the location’s relevance to your professional brand. A lawyer might opt for a bookshelf, while a creative might choose a more abstract setting.

Your background sets the stage; make sure it’s the right one.

Master Your Expression

Choosing a background that complements your professional image makes it essential to focus on perfecting your expression, which can speak volumes in a profile photograph.

Your face is the centerpiece, and the right expression can convey confidence, approachability, and competence. Start by practicing in front of a mirror. Aim for a natural smile that reaches your eyes, creating a warm and inviting look. Be wary of overdoing it; you don’t want to look forced or insincere.

If a smile doesn’t fit your profession, opt for a relaxed, neutral demeanor. Remember, you’re aiming for a look that’s both professional and authentic. Keep your posture open, and your gaze direct to exude assurance.

Mastering your expression will ensure your profile picture makes the best possible impression.

Consider Professional Help

To ensure your profile photo stands out, consider enlisting the expertise of a professional photographer. They bring a trained eye for detail and understand how to capture the essence of your personality in a single shot. You’re not just paying for their camera skills but investing in their ability to make you look your best.

Professionals know how to use lighting, angles, and poses to flatter your features and convey the right message. Don’t shy away from discussing your vision with them. It’s their job to translate your ideas into a polished, eye-catching image.

Edit With a Light Touch

While a professional photographer can capture your best angle, subtle editing can enhance the final product without overdoing it. Remember, less is more when it comes to retouching a professional profile photo. You’re aiming to polish, not transform.

Tweak the brightness and contrast to make the image pop, but don’t stray far from natural coloring. Soften any temporary blemishes or shadows that don’t represent your everyday appearance, but keep your unique features intact.

Avoid heavy filters or airbrushing that blur your authenticity. Your goal is to look like the best version of yourself on a good day, not a digital avatar.

When you’re done, ask for feedback. A fresh pair of eyes can confirm if the editing reflects a professional yet genuine you.

Frequently Asked Questions

How Do I Handle Profile Photography if I Wear Glasses to Avoid Glare and Reflections?

To handle glare and reflections in profile photos while wearing glasses, there are a few tips you can follow:

  • Tilt your frames slightly down.
  • Avoid direct light sources.

Is It Necessary to Have Multiple Profile Photos for Different Professional Platforms?

You don’t need multiple profile photos, but adapting your image to fit the platform’s tone is wise.

LinkedIn is more formal, whereas Twitter can be more casual.

Keep consistency in mind.

Can Personal Branding Elements, Like Logos or Color Schemes, Be Effectively Incorporated Into Profile Photos?

Absolutely, you can incorporate personal branding elements like logos or color schemes into your profile photos to create a cohesive and recognizable image across various platforms and professional networks.

This can help you establish a strong and consistent personal brand that stands out and leaves a lasting impression on potential employers, clients, or connections.

By using consistent branding elements, you can also make it easier for people to identify and remember you, which can be especially beneficial in a crowded online space where others may have similar names or job titles.

Additionally, incorporating personal branding elements into your profile photos can help convey your professionalism and attention to detail, which can be attractive to potential employers or clients.

It’s important to strike a balance between personal branding and maintaining a professional appearance, so make sure any logos or color schemes you incorporate into your profile photos are tasteful and relevant to your industry or personal brand.

What Are the Best Practices for Maintaining Consistency in Profile Photos Across Various Professional Networks?

It is important to follow a few key guidelines to maintain consistency across networks.

Firstly, use the same headshot across all platforms. This will help people recognize you and your brand instantly, no matter where they encounter you online.

Secondly, stick to a color scheme that reflects your brand. This means using consistent colors in your profile pictures, cover photos, and any other visual elements you use on your social media profiles.

Lastly, whenever you make changes to your profile photo, make sure to update it on all platforms simultaneously. This ensures that your brand image remains consistent and avoids any confusion among your followers or potential customers.

How Often Should I Update My Professional Profile Picture to Keep It Fresh and Relevant?

You should update your professional profile picture every one to two years.

You should also update it when you’ve undergone a significant change in appearance.

This is important to maintain a fresh and relevant presence on professional networks.

Conclusion

You’ve got this!

Knowing your angles will flatter your features.

Dress the part—it’s crucial.

Lighting can make or break your shot, so find that sweet spot.

A simple background keeps the focus on you.

Your expression? Make it genuine, confident.

Don’t shy away from hiring a pro if you’re in doubt—they’re worth it.

And when you’re editing, remember: less is more.

With these tips, you’ll nail that professional profile photo.

Good luck!

The post 7 Best Tips for Professional Profile Photography appeared first on Danny Mendoza Photography.


source https://dannymendozaphotography.com/7-best-tips-for-professional-profile-photography/
Saturday, January 20, 2024

How to Choose a Family Photographer

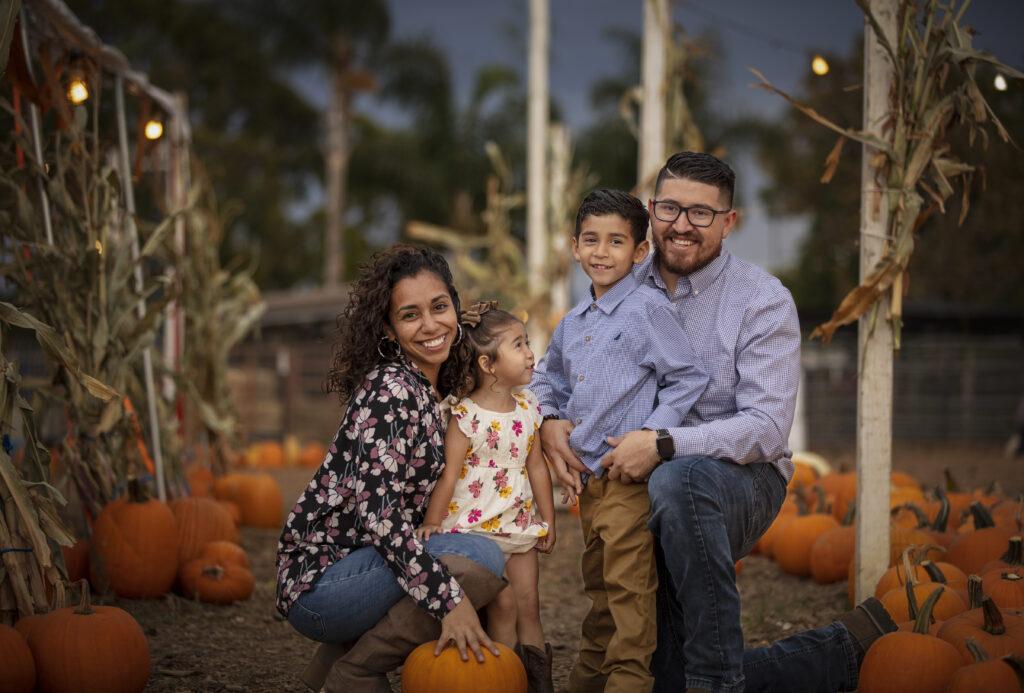
Family Photoshoot at pumpkin patch

How to Choose a Family Photographer

As you stand at the crossroads of memory-making, choosing the right family photographer is akin to selecting the perfect frame for a cherished portrait. You’re not just hiring a person with a camera; you’re entrusting someone with the task of encapsulating the essence of your family’s bond.

It’s essential to sift through the sea of professionals to find one who can reflect your family’s unique dynamic and style. You’ve probably asked yourself where to start, what to look for, and how to know if you’ve found the right match. While the answers may seem as elusive as the perfect lighting at dusk, don’t worry; you’re about to uncover some key considerations that will illuminate your path to making an informed decision.

Stick around, and you’ll find out how assessing your style preferences, researching portfolios, and evaluating experiences can lead you to the photographer who will capture your family’s story for generations to come.

Assess Your Style Preferences

Before you start your search for a family photographer, take a moment to pinpoint the photography style that resonates most with you and your loved ones.

Do you envision classic, posed portraits or candid shots that capture the chaos and love of your family life? Perhaps you’re drawn to a more artistic approach with unique angles and a focus on dramatic lighting, or maybe you prefer bright, airy photos full of natural light and soft pastels.

Flip through portfolios, get a feel for what draws you in. It’s not just about the quality of the photos but how they reflect the personality and spirit of the families featured.

Research Family Photographer Portfolios

Dive into the portfolios of potential photographers to gauge their ability to capture the essence and style you’re seeking for your family photos. Look closely at the lighting, composition, and emotional tone. Do the images resonate with you? Can you picture your family in similar settings? It’s not just about the quality of the pictures but also the photographer’s knack for storytelling through imagery.

Examine their variety of work; a great photographer can adapt to different lighting conditions and venues while maintaining consistency in quality. Pay attention to how they handle candid moments versus posed shots. This research ensures you’re not just swayed by a handful of standout images but by a robust, versatile body of work that aligns with your vision.

Evaluate Experience and Reviews

After scrutinizing portfolios, it’s crucial to assess a photographer’s experience and read through client reviews to ensure they’ve a proven track record of satisfaction. Experience can be a game-changer; it often translates into a photographer’s ability to handle various lighting conditions, manage energetic kids, and capture fleeting moments with finesse. Don’t just count the years; look at the breadth of their work and the contexts they’ve excelled in.

You’ll want to dive into reviews with a critical eye. Are there recurring praises or concerns? Do clients mention how the photographer handles the stress of a shoot or interacts with family members? These insights are invaluable. They don’t just reflect skill, but also reliability, professionalism, and the ability to create a comfortable experience for your family.

Discuss Budget and Packages

Understanding the cost implications and package options is a crucial step in selecting the right family photographer for your budget. You’ll want to discuss with potential photographers what their services include and at what price points. Look for transparency in their offerings; a good photographer will clearly outline what’s included in each package. This might cover the number of edited photos, session length, location choices, and any additional costs for extra services or products.

Don’t shy away from asking about payment plans or any available discounts that could make the investment more manageable. Remember, the cheapest option isn’t always the best value. Consider what you’re getting for your money and whether it meets your expectations for quality, expertise, and overall experience.

Check for Chemistry and Comfort

While discussing your budget and package options, it’s equally important to ensure you feel a personal connection with your family photographer. Remember, they’ll be capturing intimate moments that require everyone to be at ease. You’ve got to click with them, not just in front of the lens but also off-camera.

Don’t hesitate to ask for a pre-shoot meeting or a casual chat. It’s a chance to see if you’re comfortable with their presence and approach. They should be someone who makes your kids giggle, not shy away. Pay attention to how they talk about their work, how they respond to your vision, and whether they’re genuinely excited about your session.

Trust your gut – if it feels right, you’re on your way to beautiful, natural photographs.

Frequently Asked Questions

What Should We Wear for a Family Photo Shoot to Ensure Our Photographs Look Timeless?

You should opt for classic, solid colors. Timeless clothing choices ensure your photos won’t look dated.

Avoid trendy items.

Your photos will be cherished for years to come.

How Do We Prepare Young Children or Infants for the Photo Session to Keep Them Cooperative and Engaged?

To prepare young children or infants for a photo session, there are a few things you can do:

  • Make sure they’ve napped and eaten before the session. This will help keep them comfortable and in a good mood.
  • Bring their favorite toys or stuffed animals to the session. These familiar objects can help keep them happy and engaged.
  • During the session, be patient and playful. Children can be unpredictable, so it’s important to go with the flow and make the experience enjoyable for them.

Taking these steps will help ensure that the photo session goes smoothly and that you capture beautiful memories of your little ones.

Can We Include Pets in Our Family Photos, and Do Photographers Typically Charge Extra for This?

Yes, you can include pets in your family photos. Some photographers may charge extra for this service, so it’s important to check their policy beforehand. This way, you can avoid any surprises with additional fees at your photo session.

What Happens if the Weather Is Bad on the Day of Our Outdoor Photo Shoot; Do Photographers Have Backup Plans?

If bad weather strikes on your shoot day, most photographers will offer a rescheduled date or an indoor alternative.

You won’t be left without options, so don’t worry about the rain ruining your plans.

How Long After the Photo Session Will It Take to Receive Our Final Edited Images, and Will We Have Any Input on the Editing Process?

You’ll typically get your edited images within 2-6 weeks.

You can often provide input during the editing phase, ensuring the final photos match your preferences.

Keep in touch with your photographer for specifics.

Conclusion

Now that you’ve honed in on your style, scoured portfolios, weighed experience and reviews, talked budget, and gauged chemistry, you’re all set to pick the perfect family photographer.

Remember, the right fit will capture those priceless moments with authenticity and make the whole clan feel at ease.

Trust your gut, sign on the dotted line, and get ready to create some beautiful, lasting memories.

Your family’s story is unique—choose someone who’ll tell it just right.

The post How to Choose a Family Photographer appeared first on Danny Mendoza Photography.


source https://dannymendozaphotography.com/how-to-choose-a-family-photographer/

Thursday, January 4, 2024

Photographer Insight: Shutter Count Secrets for a 1-Hour Shoot

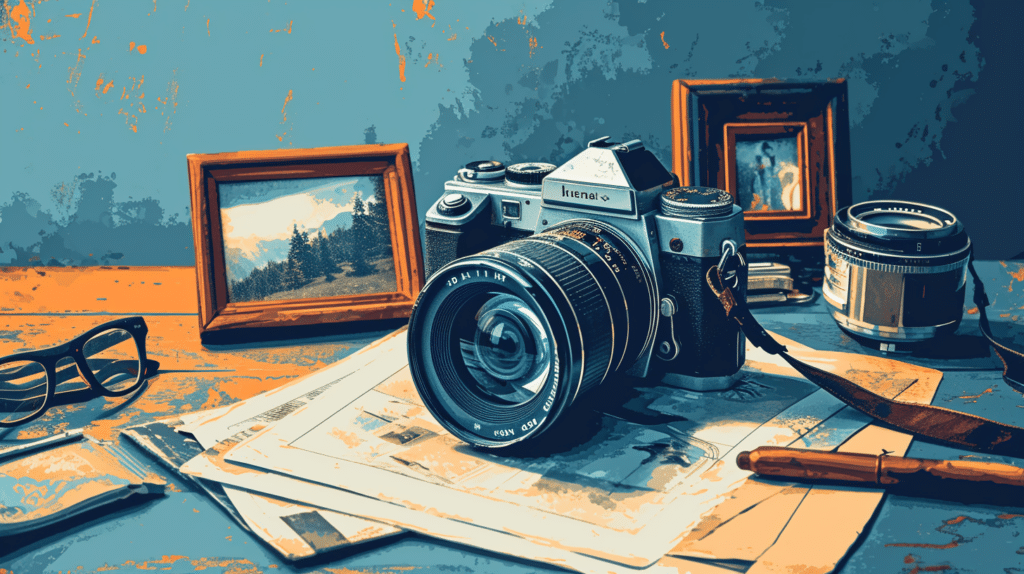
A vintage camera on a table amidst photography planning elements, symbolizing the insights and preparations of a photographer.

Photographer Insight: Shutter Count Secrets for a 1-Hour Shoot

As a seasoned photographer once said, ‘A one-hour shoot can be like a whirlwind tour through a city—you’ll capture a lot of sights, but the number you remember depends on how you travel through it.’

When you’re gearing up for a photography session, you might wonder how many snapshots you’ll walk away with after an hour. It’s not as straightforward as it seems; several factors come into play, such as the photographer’s style, the purpose of the shoot, and even how cooperative the subject is.

You’re likely looking for a ballpark figure, but to truly grasp what to expect, you need to consider the nuances of the photography process. As we unpack these elements, you’ll discover that the answer isn’t simply a number—it’s an insight into the artistry and practicality of photography.

So, how many memories can you freeze in time within sixty minutes? Let’s explore what shapes the outcome of your session.

Key Takeaways

  • Understanding the importance of knowing what to expect from a photography session
  • Factors that can affect the number of photos taken during a shoot
  • Exploring the average photo counts for different photography styles
  • Balancing the importance of image quality and quantity in a shoot

Understanding Photography Sessions

Why should you know what to expect from your photography session before the camera clicks? Understanding the session dynamics beforehand can help you prepare mentally and physically, ensuring that you’re comfortable and that your expectations are aligned with the photographer’s style. It’s not just about the number of photos you’ll receive but also about the experience and the quality of each shot.

Each photographer has a unique style and approach. Some may focus on candid shots that capture spontaneous moments, while others prefer posed, meticulously arranged images. Knowing this in advance allows you to adjust your own preferences and communicate with your photographer to ensure the session reflects your vision.

Moreover, being aware of the session dynamics helps you plan your outfit choices, props, and the significance of the location. You’ll also get an idea of how the photographer directs the shoot, how much guidance you’ll get, and the pace at which you’ll move between shots. This knowledge smooths the session and contributes to a more personalized and satisfying outcome.

Factors Affecting Photo Quantity

The number of photos you can expect from a one-hour shoot varies greatly depending on several key factors, including the photographer’s style, the purpose of the shoot, and how well-prepared you are.

For instance, a photographer with a rapid-fire approach may utilize a faster shutter speed to capture a multitude of images quickly, especially in action or event photography. This can result in a higher quantity of pictures. On the other hand, a photographer who meticulously composes each shot and prefers a slower, more deliberate pace might produce fewer images.

Lighting conditions also play a crucial role. In well-lit environments, the camera can operate at faster shutter speeds without compromising image quality, which may lead to more photos. Conversely, in low-light scenarios, the photographer might need to slow down the shutter speed or take extra time setting up artificial lighting, reducing the overall photo count.

Your readiness can further influence the outcome. You’ll maximize the shooting time if you’re punctual, dressed, and ready to pose. Delays in preparation or changes in outfits and setups can eat into the allotted time, leaving you with fewer final shots.

Average Photo Counts Explored

Having considered the various factors that influence how many photos you might receive, let’s now examine what you can typically expect in terms of photo count from a one-hour shoot. Snapshot variability plays a significant role. The number of delivered photos can vary widely depending on the photographer’s style and approach.

A photographer who embraces a more candid approach might produce a larger collection of images, capturing spontaneous moments and expressions. You could expect anywhere from 40 to 70 photos as they continuously seek to catch genuine interactions. On the other hand, a photographer with a meticulous, fine-art style might deliver fewer but more polished images, perhaps between 20 and 40, as they spend more time composing each shot.

It’s also essential to consider post-processing times. Photographers who do extensive editing might provide a smaller set of finalized, high-quality images. Conversely, those with a lighter editing touch might offer more pictures, as each requires less work to complete.

Quality Versus Quantity

While you’re deciding on the right photographer for your one-hour shoot, it’s crucial to weigh the importance of image quality against the sheer number of photos you’ll receive. Remember, a successful shoot isn’t just about how many pictures you get. It’s about capturing moments that resonate with your creative vision.

  • Quality Considerations
  • Creative vision: High-quality images that align with your artistic goals.
  • Post-processingtime: Each photo requires attention, affecting the final count.
  • Quantity Expectations
  • More photos might mean a broader selection.
  • Quantity can be beneficial for events with many moments to capture.

If you prioritize quality, you’ll likely receive fewer images, but each one will be crafted with care, reflecting the photographer’s skill and your shared creative vision. Post processing time plays a significant role here; editing to perfection takes time, which means each image is a small work of art.

On the flip side, if you’re all about quantity, you’ll get a lot of photos, but they may be less polished. You’ll have more to choose from, yet they might lack that special touch that only comes when a photographer invests time both during the shoot and in post-processing.

Setting Realistic Expectations

When planning your one-hour photo shoot, it’s essential to manage your expectations regarding the number of high-quality images you’ll realistically walk away with. Remember, client communication is key. Before the session, discuss with your photographer what you’re hoping to achieve. This conversation can set the stage for the shoot and give you a clear idea of the deliverables.

During session planning, consider factors like the variety of shots, the number of locations, and outfit changes. Each of these can affect how many pictures are taken and, more importantly, how many final images you receive. It’s not just about the quantity; you’re after a selection of photos that capture the essence of the moment, not dozens of redundant shots.

Be aware that photographers typically shoot many frames to get those few perfect images. They’ll then edit and deliver the best ones, which takes time and expertise. So, you might see them snapping away, but they’ll only choose the cream of the crop for your final gallery. Trust in their process, understand that not every click of the shutter results in a usable photo, and you’ll set yourself up for satisfaction with the outcome of your one-hour shoot.

Frequently Asked Questions

How Can I Work with My Photographer to Ensure a Diverse Range of Shots in Different Poses and Settings Within the One-Hour Timeframe?

You’ll maximize your shot diversity by pre-planning outfits and scouting locations. Discuss your vision with the photographer to ensure you’re both aligned on the goal for varied poses and settings.

What Should I Do if I’m Not Satisfied With the Number of Photos Provided After a One-Hour Shoot?

Discuss your concerns with the photographer if you’re unhappy with the photo count. Review their refund policy and develop a communication strategy to negotiate a solution that meets your expectations for the shoot.

Can the Time of Day or Lighting Conditions Significantly Impact How Many Usable Photos Are Taken in an Hour?

Yes, lighting challenges significantly affect the number of usable photos. You’ll capture more during the golden hour when the light’s ideal, compared to midday when harsh shadows can ruin your shots.

Are Any Post-Processing Services Included in a One-Hour Photo Shoot, or Is That Considered Extra Time and Cost?

You’ll typically find post-processing services aren’t included in the shoot time; they’re extra. Set clear editing expectations upfront to avoid unexpected additional charges after your photo session.

How Does the Photographer’s Style or Specialization Influence the Number of Pictures Taken During a One-Hour Session?

A photographer’s style dictates the shooting ratio, while equipment efficiency impacts how swiftly they work. You’ll see a range in output, as some focus on quantity, others on crafted, high-quality shots.

Conclusion

In conclusion, you’ve learned that the number of photos from a 1-hour shoot can vary greatly. Factors like the photographer’s style, the event’s pace, and your specific needs play a big role.

While you might expect an average of 50-100 shots, prioritize quality over quantity. Set realistic expectations by discussing your vision with your photographer beforehand.

That way, you’ll ensure you’re both on the same page, aiming for a gallery that captures your moments perfectly.

The post Photographer Insight: Shutter Count Secrets for a 1-Hour Shoot appeared first on Danny Mendoza Photography.


source https://dannymendozaphotography.com/photographer-insight-shutter-count-secrets-for-a-1-hour-shoot/

10 Reasons Why Oxnard, CA is a Great Place to Live

10 Reasons Why Oxnard, CA is a Great Place to Live Nestled along the scenic coast of California, Oxnard presents a unique blend o...